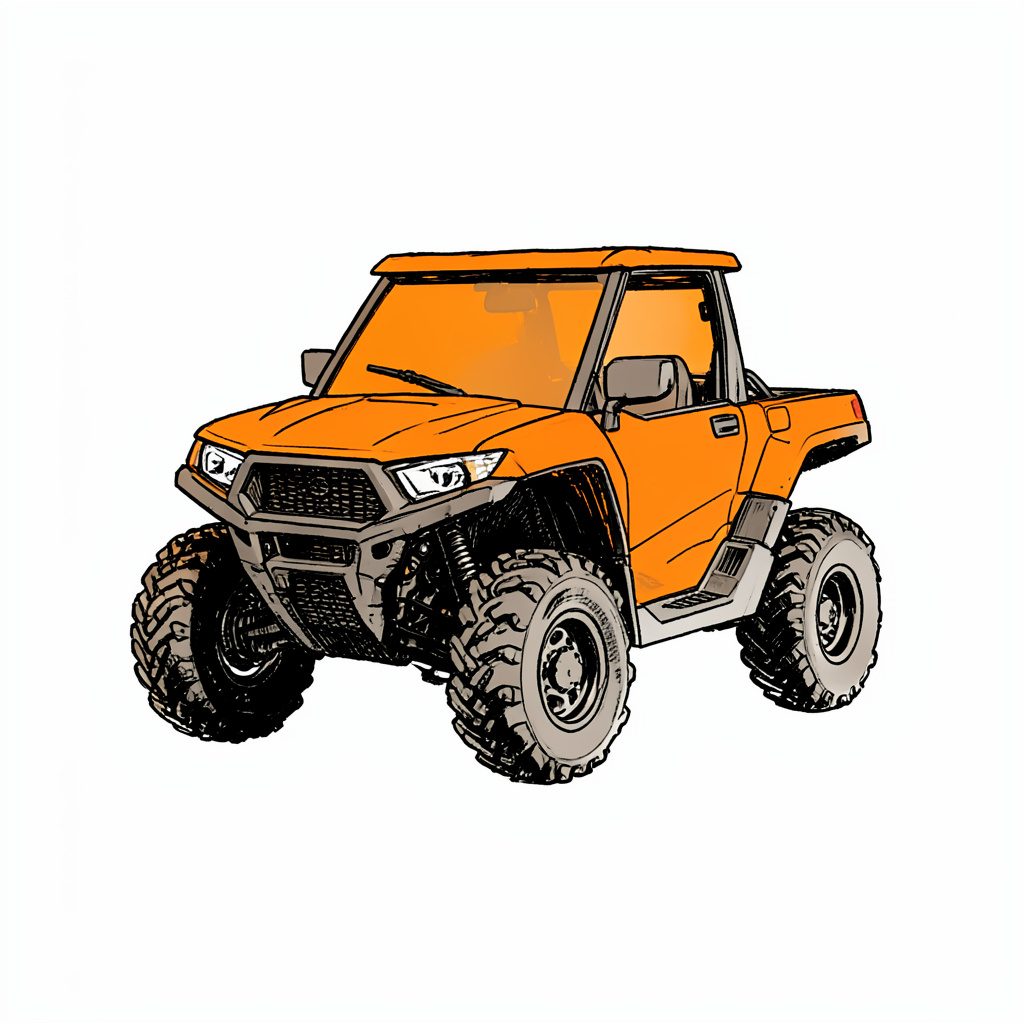
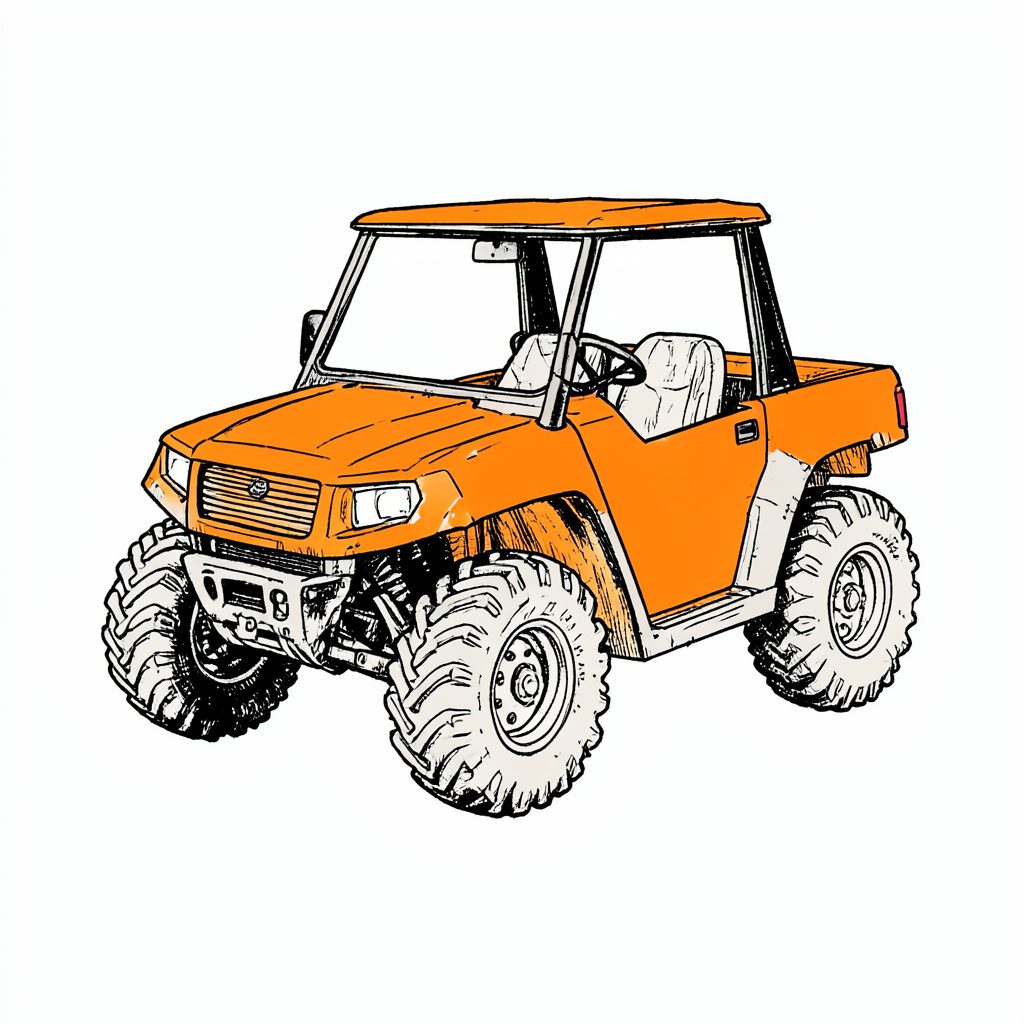
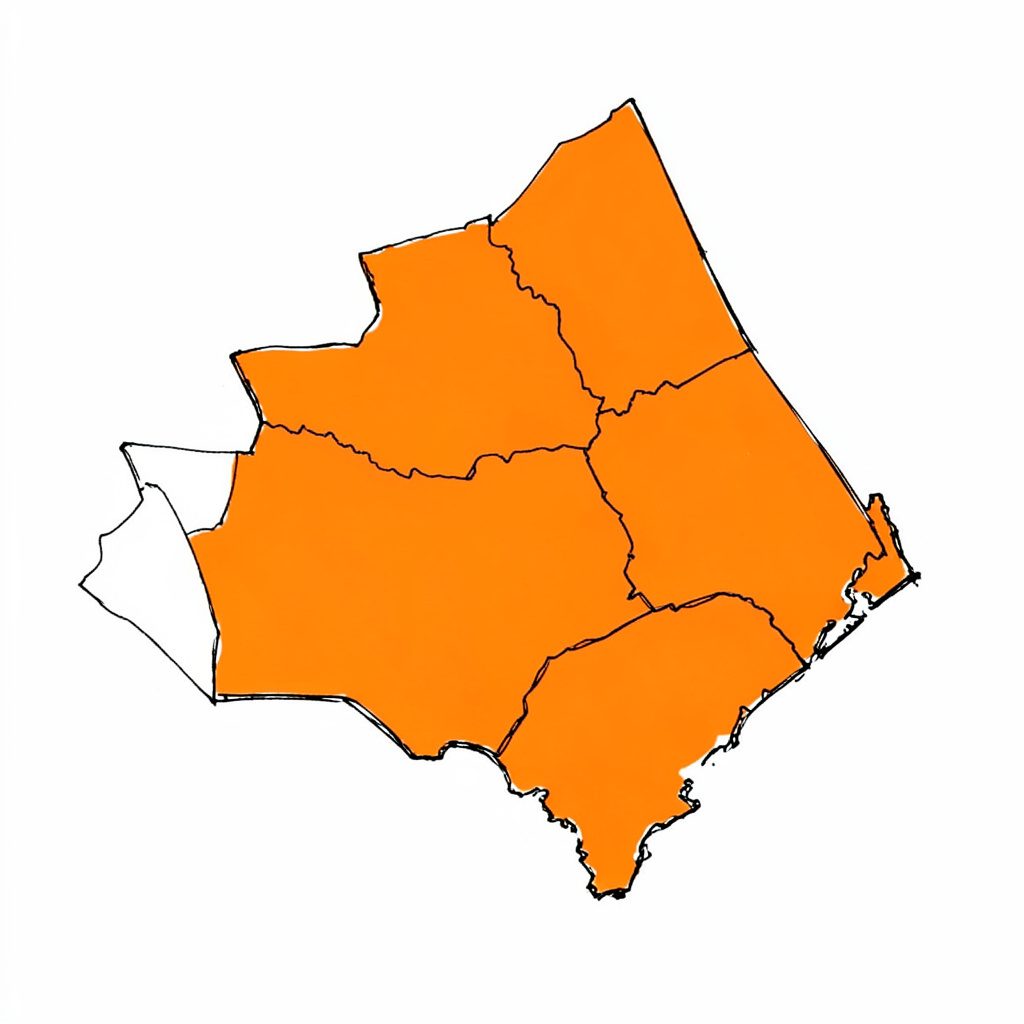
Tucked into pristine old Florida land in Flagler County, Florida Cracker Ranch is a family oriented outdoor adventure club where kids, parents and thrill seekers share the same trails, campsites and waterways.
Adventure Memberships available — families and singles welcome.
Reserve Your SpotWelcome to Florida Cracker Ranch
Often called Nature's Theme Park, our grounds invite families to ride ATV trails, splash through the swamp buggy area, pitch a tent, cast a line and explore old Florida hiking paths. Discover why members keep coming back season after season.
What You Can Do Here
ATV Trails
Marked routes for every skill level, including a peewee section.
Dirt Bikes
Dedicated dirt bike area built for two wheel adventure.
BMX & Mountain
Pedal powered BMX and mountain bike trails.
Swamp Buggy
Spacious swamp buggy area for big rig fans.
4x4 & Mud Trucks
Deep ruts and splash zones for 4x4s and mud trucks.
Skeet Range
Skeet shooting range in a controlled setting.
Camping
Membership campsites on a first come, first served basis.
Horse Trails
Scenic horse trails and riding paths.
An Old Florida Tradition
We honor the cracker way of life with old Florida outdoor living, traditional lodging, hiking and nature trails, plus fishing, swimming and beach access for members and their guests.
- Membership camping on a first come, first served basis
- Old Cracker Style Lodging cabins planned for overnight stays
- Old Florida hiking and nature trails
- Fishing, swimming and beach access
- Horse trails and riding


By the Numbers
Keeping Your ATV Reliable After Riding on Salty Sand
Salt, fine sand and moisture are a harsh combination for any all-terrain vehicle. A ride along a beach, coastal track or flooded sand trail can leave residue in places that are easy to overlook, including brake callipers, electrical connectors, wheel bearings and the underside of the chassis.
For Australian riders, this is a familiar problem from the beaches of Queensland, New South Wales and Western Australia. Even a short outing near the coast can expose an ATV to salt spray. A machine used around Fraser Island, Stockton Beach or the Perth coastline needs a different cleaning routine from one ridden on dry inland tracks.
The same principles apply when visiting a private outdoor venue such as Florida Cracker Ranch, where trail riding forms part of a broader outdoor experience. Planning time for cleanup protects your machine and helps preserve the suspension, drivetrain and controls for the next adventure.
Salt damage is gradual rather than dramatic. Corrosion may begin as a dull patch on a bolt, a stiff control or a slightly rough wheel bearing. A prompt wash and careful inspection are cheaper than replacing seized hardware or repairing an electrical fault later.
Why Salt And Sand Need Immediate Attention
Salt attracts moisture from the air, allowing corrosion to continue even after the ATV appears dry. Sand makes the problem worse by holding salty water against metal surfaces and working its way into seals, bushings, brake components and chain links.
The chassis, skid plates and suspension arms usually receive the heaviest coating because they sit close to the ground. Pay particular attention to mudguards, footwells and the frame rails, where wet sand can remain packed for hours.
Avoid leaving the ATV overnight in a trailer or shed with salt still on it. A warm, enclosed space can speed up corrosion. If you cannot complete a full service immediately, at least remove loose sand, rinse the machine with fresh water and allow air to circulate around it.
Rinse From The Top Down
Begin with a low-pressure hose rather than a pressure washer. High-pressure water can force grit and salt past wheel-bearing seals, into electrical plugs and behind brake dust shields. Start at the handlebars and plastics, then work down towards the tyres and skid plates.
Use fresh water generously, especially around the underside. Move the wheels while rinsing so the inner rims, hubs and brake assemblies receive attention. Do not aim directly into the airbox intake, exhaust outlet, CV boots or sealed electrical connectors.
A mild vehicle shampoo can loosen oily salt deposits without stripping every protective coating from the metal. A soft brush is useful for the foot controls, frame joints and suspension components. Rinse the brush frequently so it does not drag abrasive sand across painted plastics.
Once the wash is finished, use compressed air carefully or let the ATV drain naturally. Blow water away from connectors and controls rather than into them. Start the engine briefly only after checking that the air intake is dry and unobstructed.
Clean The Drivetrain And Brakes
The chain, sprockets and brake components deserve a separate inspection. Salt-contaminated sand can cling to chain lubricant and form an abrasive paste. If the chain is dirty, use a chain-safe cleaner and a soft brush, then rinse lightly and dry it before applying lubricant.
Do not spray chain lubricant onto brake discs or pads. Cover the brake area when using aerosol products, and wipe away any overspray immediately. A contaminated disc may feel weak or uneven under braking, while grit caught between the pad and rotor can score the surface.
After washing, roll the ATV slowly and listen for grinding or clicking. Check that each brake lever and pedal feels firm and returns smoothly. If braking remains spongy, the machine pulls to one side or a wheel feels hot after a short test, stop riding and have the system examined.
The same care suits machines used on Florida trails and family adventure properties. Riders exploring Old Florida adventures should treat wet sand, swamp water and coastal air as reasons for a post-ride inspection, rather than assuming a short ride caused little exposure.
Protect Bearings, Bushings And Fasteners
Salt often attacks fasteners before major components show visible damage. Inspect axle nuts, suspension bolts, handlebar clamps, footpeg mounts and skid-plate hardware. Look for white residue, orange discolouration or a bolt head that is beginning to round.
Do not loosen every fastener after each ride, but check the important points against the manufacturer’s torque specifications. Over-tightening can damage aluminium threads, while leaving a corroded bolt untouched may make the next repair much harder.
Wheel bearings and suspension joints should move smoothly without excessive play. Hold each wheel and rock it side to side; movement that feels loose or notchy deserves attention. Greaseable points should be serviced with the correct waterproof grease, while sealed bearings should be replaced if roughness or looseness is present.
Australian owners should consider the local parts market when choosing replacements. Common Japanese brands such as Yamaha, Honda, Suzuki and Kawasaki are well supported through dealers and independent workshops, but marine-grade fasteners, dielectric grease and bearing kits may still need to be ordered before a busy summer riding period.
Fluids And Electrical Checks Worth Making
After a salty outing, inspect the engine oil, coolant level and differential or transmission oil as specified for your model. Water contamination can turn oil cloudy or milky. That sign requires prompt investigation rather than another ride.
Open accessible electrical connectors only when the service manual permits it. Look for moisture, green corrosion or a loose seal around the battery terminals, winch wiring, kill switch and lighting plugs. A small amount of dielectric grease on clean connector seals can help exclude moisture, but it should not be used to hide existing corrosion.
The battery terminals should be clean and tight. Check the main earth cable as well, since a poor ground can cause confusing starting and charging symptoms. If the ATV has been immersed above its normal operating depth, arrange a full inspection of the airbox, oil, transmission and electrical systems.
Give the engine bay time to dry before fitting a cover. A breathable cover is preferable to a waterproof sheet sealed tightly around a damp machine. Moisture trapped beneath a cover can be as harmful as the original salt spray.
Post-Ride Items To Check Every Time
A short, consistent checklist prevents small problems from becoming expensive repairs. The following items are worth checking before the ATV is parked:
- Rinse the underside, wheels, footwells and suspension with fresh water.
- Check the airbox, drain tube and intake area for wet sand or water.
- Inspect the chain, sprockets, brake discs and CV boots.
- Look for corrosion around battery terminals and electrical connectors.
- Confirm that the tyres, controls and brakes operate normally.
Keep a small wash kit in the trailer or vehicle so maintenance does not depend on returning home immediately. Useful items include a low-pressure hose adapter, soft brushes, microfibre cloths, chain cleaner, waterproof grease and a spray designed for electrical protection.
A rinse at the beach car park is helpful, but it is not a substitute for a proper clean. Public taps may have limited flow, and blasting water around a busy campsite can spread grit over other vehicles. A more thorough wash at home should follow as soon as practical.
Storage And Transport After A Coastal Ride
Before loading the ATV for the trip home, remove thick clumps of sand from the tyres and skid plates. Secure the vehicle with suitable tie-down points, keeping straps away from sharp edges and hot exhaust parts. If the machine is wet, allow ventilation through the trailer rather than wrapping it tightly in plastic.
At home, park it on a surface where dirty water can drain safely. Wash, dry and lubricate the machine before storing it. A few minutes spent wiping exposed metal and applying a light corrosion inhibitor can protect pivot hardware and bare steel surfaces.
Camping routines often involve wet ropes, damp gear and sandy equipment as well as the ATV. A practical camping knot guide can help with securing tarps, wash lines and covers without creating tight knots that are difficult to remove later.
For longer storage, disconnect or maintain the battery according to the manufacturer’s instructions, keep the tyres correctly inflated and place the ATV where rodents cannot easily reach wiring. Avoid storing it beside fertiliser, pool chemicals or other corrosive products.
Build A Simple Maintenance Rhythm
A basic schedule makes salty-sand care manageable. Wash after every coastal ride, lubricate the chain once it is clean and dry, and carry out a closer inspection after several rides or any immersion. Follow the owner’s manual for oil changes, grease points, belt checks and air-filter servicing.
Keep notes of unusual noises, difficult starting, brake changes or recurring corrosion. A workshop can diagnose a clear record more quickly than a vague report that the ATV “felt strange”. Photos of damaged connectors or worn components are also useful when ordering parts.
Maintenance does not have to end the outdoor day. After the machine is washed and parked safely, riders can return to camp, prepare dinner or enjoy a quiet film. A Nepali film archive may suit a slower evening, while a downloaded EDM genre guide can provide listening for a group setting without adding another trip into town.
Before the next salty-sand ride, place a low-pressure hose, soft brush, chain cleaner and dielectric grease beside the trailer, then complete the rinse and inspection before the ATV goes into storage.
Get in Touch
Send us a note about memberships, guest visits or directions. Phone 386-864-3856 or email floridacrackerranch@floridacrackerranch.com. Mailing address: P.O. Box 2993 Bunnell, Florida 32110.