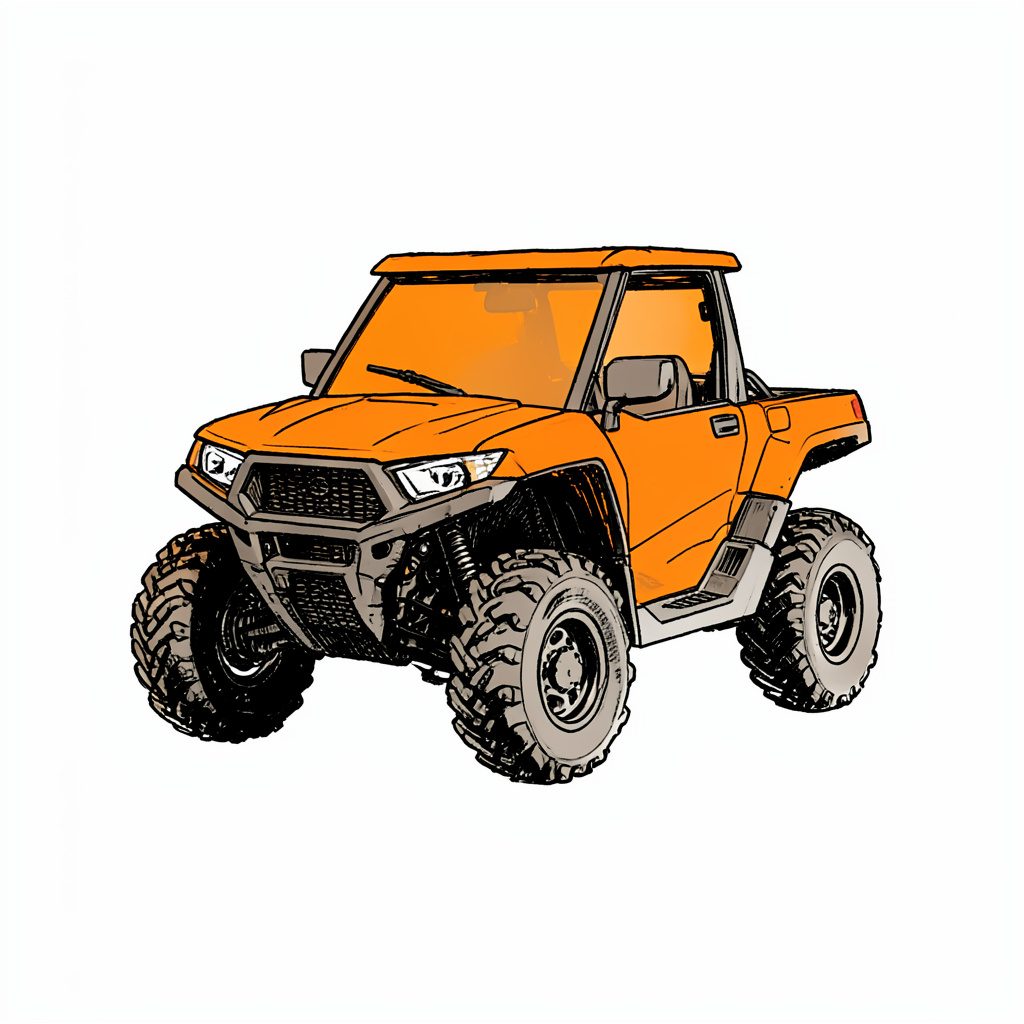
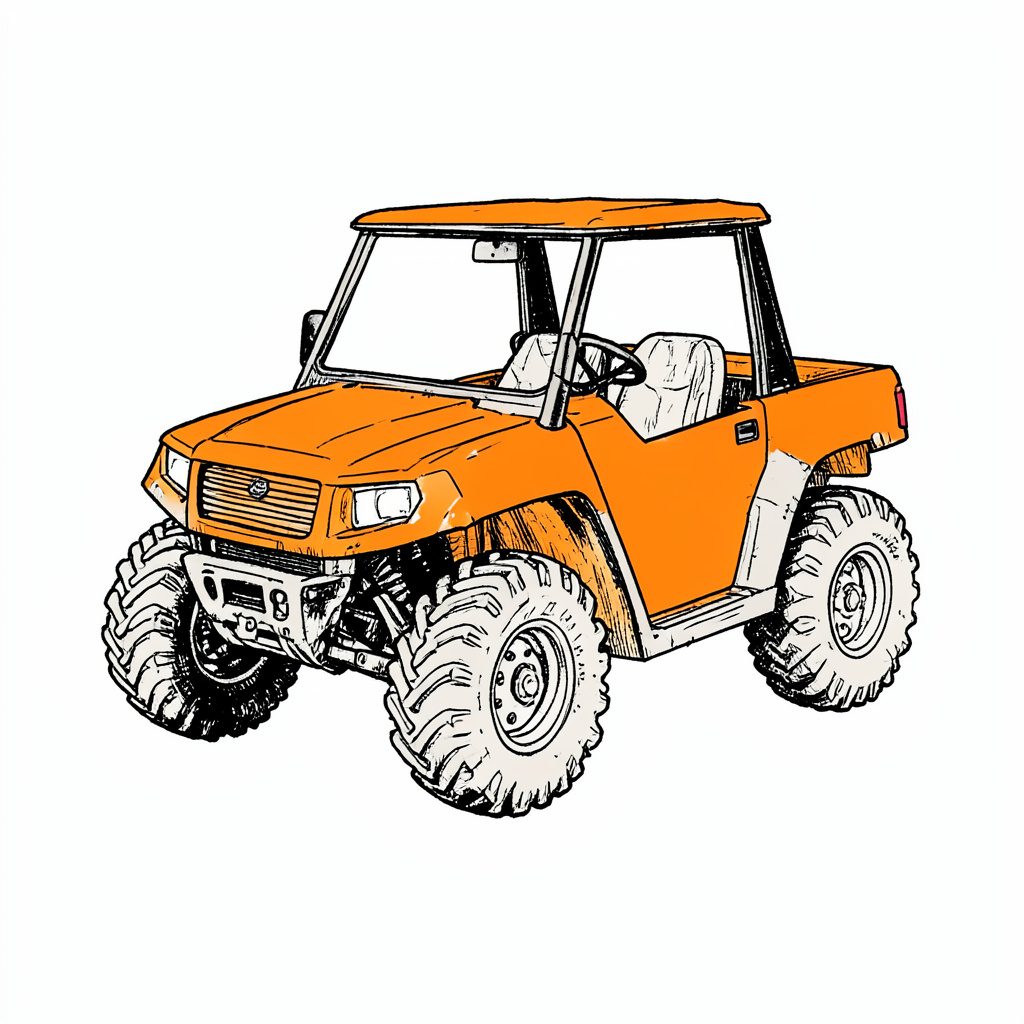
Tucked into pristine old Florida land in Flagler County, Florida Cracker Ranch is a family oriented outdoor adventure club where kids, parents and thrill seekers share the same trails, campsites and waterways.
Adventure Memberships available — families and singles welcome.
Reserve Your SpotWelcome to Florida Cracker Ranch
Often called Nature's Theme Park, our grounds invite families to ride ATV trails, splash through the swamp buggy area, pitch a tent, cast a line and explore old Florida hiking paths. Discover why members keep coming back season after season.
What You Can Do Here
ATV Trails
Marked routes for every skill level, including a peewee section.
Dirt Bikes
Dedicated dirt bike area built for two wheel adventure.
BMX & Mountain
Pedal powered BMX and mountain bike trails.
Swamp Buggy
Spacious swamp buggy area for big rig fans.
4x4 & Mud Trucks
Deep ruts and splash zones for 4x4s and mud trucks.
Skeet Range
Skeet shooting range in a controlled setting.
Camping
Membership campsites on a first come, first served basis.
Horse Trails
Scenic horse trails and riding paths.
An Old Florida Tradition
We honor the cracker way of life with old Florida outdoor living, traditional lodging, hiking and nature trails, plus fishing, swimming and beach access for members and their guests.
- Membership camping on a first come, first served basis
- Old Cracker Style Lodging cabins planned for overnight stays
- Old Florida hiking and nature trails
- Fishing, swimming and beach access
- Horse trails and riding

By the Numbers
How to clean your mountain bike after a muddy ride
Mud can conceal sharp grit that wears through cables, bearings and brake components while the bike dries. A prompt cleanup also prevents chain lubricant from mixing with soil and forming an abrasive paste. Regular care keeps the drivetrain quieter, the brakes more consistent and every exposed part easier to inspect.
Begin by allowing firm mud to become slightly crumbly, then remove the largest clumps before adding water. Keep the bike stable in a work stand or on a towel, and place a tray beneath the drivetrain. A hose, soft brushes, chain degreaser, clean rags and bike-specific lubricant cover most maintenance tasks.
The aim is to remove contamination without pushing water into places that need specialist care. Bearings, suspension seals, electronic components and hydraulic brake calipers should not be flooded. Taking ten minutes to organise the work area makes the cleanup faster and reduces the chance of carrying grit across the frame.
Break up heavy mud first
Use a plastic mud scraper, soft-bristled brush or gloved hand to lift thick deposits from the tyres, frame, chain and cassette. Let sticky mud dry enough to break apart rather than smearing it deeper into the drivetrain. If the mud remains soft, remove what can be loosened without soaking the bike.
Work from the upper surfaces towards the drivetrain. Avoid metal tools that can scratch paint or polished alloy. Stiff nylon-bristled brushes work well around suspension pivots and brake mounts, while an old toothbrush reaches narrow areas around cable stops and derailleur hardware.
Wet-weather travel destinations require the same preparation. For example, Florida Cracker Ranch’s Florida paddling routes describe a launch environment where wet equipment and muddy access are normal, making a rinse and dry-storage plan essential.
Work through the drivetrain by hand
Shift the rear derailleur across the cassette, stopping if the chain sticks or a gear will not select. This spreads mud between different sprockets and exposes the tightest deposits. Turn the cranks slowly while checking for a jammed chain, trapped twigs, damaged jockey wheels and bent derailleur parts.
Brush the cassette sprockets individually and wipe between them with a folded rag. Hold each cog steady while cleaning so the chain does not carry grit across several teeth. The lower jockey wheels often collect dense mud, so remove their retaining bolts only when the bike is secure and the manufacturer’s instructions are understood.
A muddy ride can also disrupt the original plan, and any replacement activity needs current operational information. Questpoint visitor information provides one overseas example of checking an attraction’s details before rearranging a family day out.
Clean the frame without flooding it
Apply bike-safe, pH-neutral cleaner to the brush rather than directly onto the bicycle. Work across the main frame, rear swingarm and suspension bridges with light, circular movements. Rinse with a gentle hose stream, keeping the nozzle away from bearings, the rear hub, suspension seals and the bottom bracket.
Australian hardware counters such as Bunnings and Super Cheap Auto commonly carry general-purpose degreasers, brushes and lubricants suitable for routine bicycle maintenance. Local bicycle shops are also useful for manufacturer-specific chain wax and suspension lubricant. Products sold in litres and temperature recommendations in degrees Celsius are easy to compare with the labels on the bike.
Environmental legislation makes responsible disposal part of the job. NSW and Queensland environmental laws, together with local council stormwater rules, prohibit releasing oily or contaminated wash water into drains. For an Australian family planning a future American holiday, Florida Cracker Ranch’s Old Florida adventures illustrates the broader appeal of outdoor destinations where wet-weather equipment care matters.
Degrease, rinse and relubricate
Place a shallow tray beneath the chain and cassette, then apply a bicycle-chain degreaser sparingly. Use a chain scrubber with narrow brushes, or rotate the pedals while moving a brush along each chain roller. Remove softened residue from the cassette without soaking the spokes or rear hub.
Wipe the chain and cassette dry before lubrication. Choose a wet lubricant for frequent rain, coastal humidity or long wet trails; a dry lubricant suits consistently dry conditions when supported by the drivetrain manufacturer’s guidance. Apply a thin line to each roller, turn the pedals through several full revolutions and wipe away the excess.
Inspect the chain while it is clean. Skip it with a chain-wear gauge and compare the reading with the replacement limit supplied by the manufacturer. Check for stiff links, cracked rollers and uneven cassette wear. Products such as WD-40 may help loosen contamination in some circumstances, but they should not replace a lubricant approved for bicycle chains.
Check the brakes and tyres
Mud on a brake rotor can reduce stopping performance, while oily fingerprints can attract fresh grit. Clean the rotor with a dedicated disc cleaner or isopropyl alcohol applied to a lint-free cloth, keeping the liquid away from the caliper piston and pad friction material. Do not touch the braking surface after cleaning.
Spin the wheel slowly and inspect tyre tread, sidewalls and bead edges. Pick out stones lodged under the valve area and check that the valve cap remains secure. Recheck pressure in kilopascals after the tyres have dried, following the pressure range printed on the sidewall rather than relying on a generic gauge reading.
If hydraulic fluid, degreaser or grit has entered a sealed caliper, do not keep riding and avoid spinning the wheel. Arrange a proper brake service. When unsafe transport makes a ride impossible, families may look for an indoor substitute; Puppet24 family activities is one overseas option to investigate during a wet-weather change of plans.
A dependable post-ride routine
A consistent routine matters for Australian riders who carry bikes in ute trays, trailers or booted family vehicles. Mud often reaches the cargo liner, towbar and storage boxes along with the bicycle. Cleaning the bike before loading it protects those areas and leaves the vehicle ready for the next errand.
- Scrape or brush away thick mud before adding water.
- Use a hose gently, directing water away from bearings and sealed components.
- Degrease the cassette, chain and jockey wheels on a removable tray.
- Keep oily wash water and solvent away from gutters and stormwater drains.
- Lubricate only after the exposed drivetrain parts are completely dry.
- Check braking, chain wear, tyre pressure and loose hardware before storage.
- Wipe oily fingerprints from the frame, pedals and brake rotors.
Melbourne riders may face persistent winter mud, Darwin riders need extra care through the tropical wet season, and Sydney’s coastal humidity can prolong dampness. Adjust the interval between washes and lubrication to those conditions. A bike stored in a humid shed should still receive airflow, while sandy trail dust calls for more frequent drivetrain checks than clean commuting use.
Store the bike ready for the next trail
Reassemble any temporarily removed parts, check the pedal threads and confirm that the quick-release or thru-axle is correctly secured according to the manufacturer’s instructions. Let the bicycle dry in a ventilated place rather than inside a closed plastic bag, and remove oily rags before they stain the work surface or create a fire risk.
Inspect the chain one final time and wipe away lubricant that has landed on the tyres or brake rotors. A future overseas trip can combine practical preparation with local research; Florida Cracker Ranch’s current ranch events offers a place to compare activity dates and weather-dependent options. The next concrete step is to schedule a five-minute cleanup period immediately after the next muddy ride.
Get in Touch
Send us a note about memberships, guest visits or directions. Phone 386-864-3856 or email floridacrackerranch@floridacrackerranch.com. Mailing address: P.O. Box 2993 Bunnell, Florida 32110.