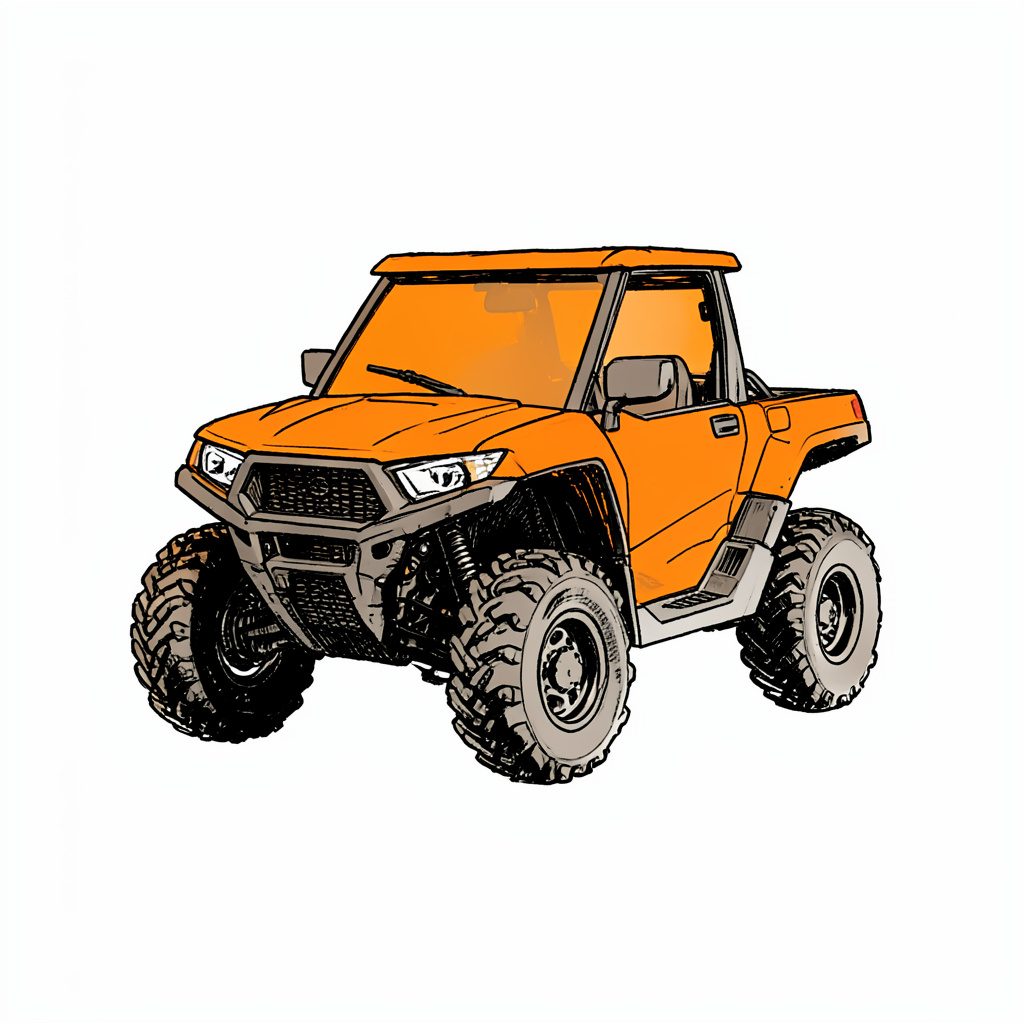
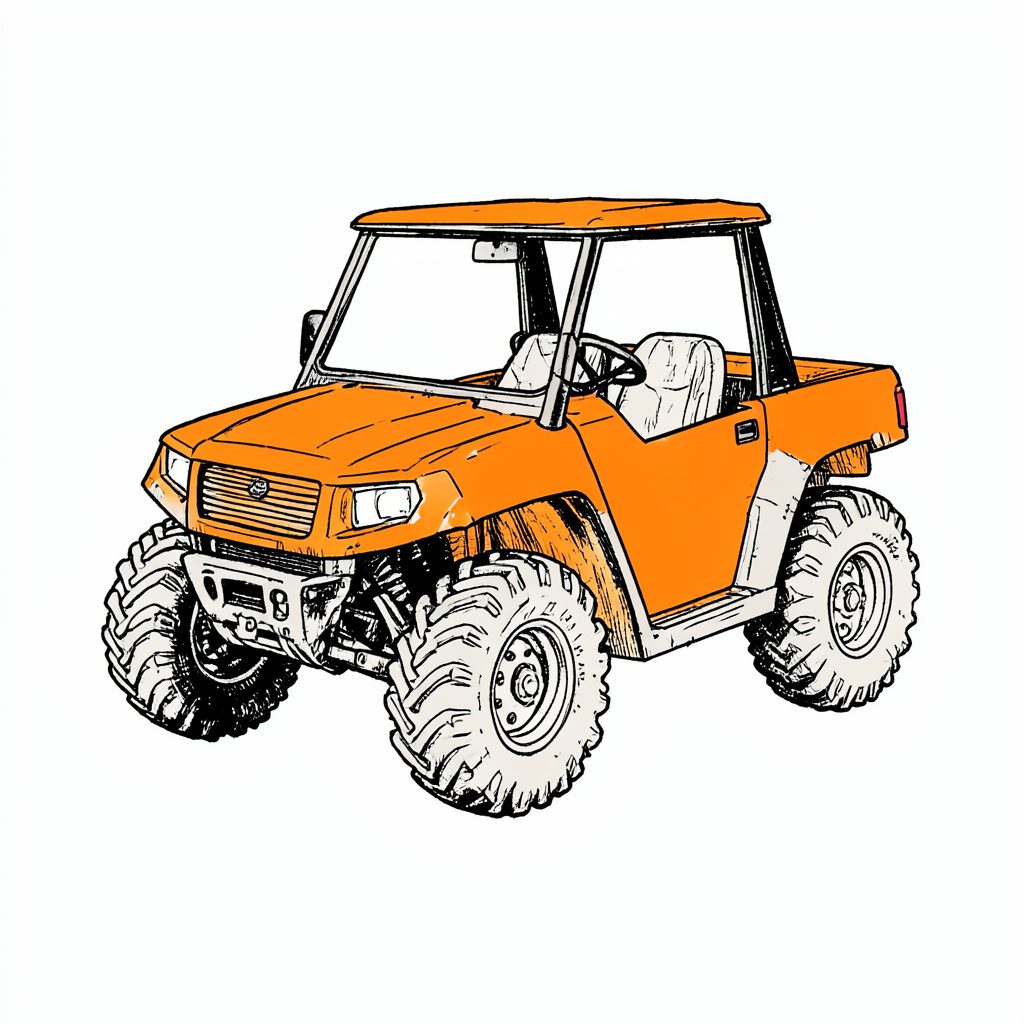
Tucked into pristine old Florida land in Flagler County, Florida Cracker Ranch is a family oriented outdoor adventure club where kids, parents and thrill seekers share the same trails, campsites and waterways.
Adventure Memberships available — families and singles welcome.
Reserve Your SpotWelcome to Florida Cracker Ranch
Often called Nature's Theme Park, our grounds invite families to ride ATV trails, splash through the swamp buggy area, pitch a tent, cast a line and explore old Florida hiking paths. Discover why members keep coming back season after season.
What You Can Do Here
ATV Trails
Marked routes for every skill level, including a peewee section.
Dirt Bikes
Dedicated dirt bike area built for two wheel adventure.
BMX & Mountain
Pedal powered BMX and mountain bike trails.
Swamp Buggy
Spacious swamp buggy area for big rig fans.
4x4 & Mud Trucks
Deep ruts and splash zones for 4x4s and mud trucks.
Skeet Range
Skeet shooting range in a controlled setting.
Camping
Membership campsites on a first come, first served basis.
Horse Trails
Scenic horse trails and riding paths.
An Old Florida Tradition
We honor the cracker way of life with old Florida outdoor living, traditional lodging, hiking and nature trails, plus fishing, swimming and beach access for members and their guests.
- Membership camping on a first come, first served basis
- Old Cracker Style Lodging cabins planned for overnight stays
- Old Florida hiking and nature trails
- Fishing, swimming and beach access
- Horse trails and riding

By the Numbers
A practical pre-ride checklist for your dirt bike engine
A dirt bike can feel ready after a quick glance, yet small faults often become expensive problems once the engine is hot, the track is rough and the throttle stays open. A few minutes of inspection before riding helps protect the motor, improve handling and reduce the chance of being stranded far from the workshop.
This routine suits a trail bike, enduro machine or motocross bike. It also works whether you are preparing for a weekend at a private park, a transport trip to a riding area or several days of camping. At Florida Cracker Ranch, where members can combine dirt bike riding with camping and other outdoor activities, a reliable motorcycle makes the whole stay more enjoyable.
Australian riders should adapt the checks to local conditions. A dusty summer ride outside Brisbane, a cold morning near Melbourne or a long trip from Sydney can place different demands on fuel, batteries, tyres and cooling systems. Treat the inspection as part of riding preparation rather than an optional mechanical chore.
Start with a cold visual inspection
Begin with the engine switched off and, ideally, completely cold. Look underneath the bike for fresh oil, coolant or fuel. A few drops may reveal a loose hose clamp, damaged crankcase cover, leaking water-pump seal or fuel line that needs attention before the bike is started.
Check the frame, subframe and engine mounts for cracks, movement or missing fasteners. Pay particular attention to areas that collect mud and sand, including the skid plate, linkage, countershaft cover and radiator guards. Remove packed debris because it can hide damage and restrict airflow.
A cold inspection also gives you a useful baseline. If the engine oil level is already low, do not assume it is harmless consumption. Record what you find, take a photograph if necessary and investigate recurring leaks before riding. The history of rural machinery and working animals in Florida offers a useful reminder that dependable equipment starts with routine care, not last-minute repairs; the Old Florida cattle history provides interesting background on that practical tradition.
Check fuel, oil and coolant
Confirm that the fuel tank contains enough petrol for the planned ride, with a reserve if the route is unfamiliar. In Australia, 91, 95 and 98 RON petrol are common at service stations, while E10 is also widely available. Use the fuel grade specified by the manufacturer, and do not assume E10 is suitable simply because it is convenient at the servo.
Inspect the fuel cap, breather hose and tap or pump connections. A blocked breather can cause the engine to lose power as vacuum develops in the tank. For two-stroke bikes, verify the premix ratio with a measuring jug or confirm that the oil-injection reservoir is full. Guessing the ratio can lead to seizure or excessive smoke.
Check engine oil on level ground using the method in the owner’s manual. Some bikes require the engine to be warm, while others must be checked cold and upright. Look at the oil colour and level, and inspect the magnetic drain plug or filter area when servicing. Coolant should sit between the marked levels, and the radiator should contain no obvious mud, bent fins or damaged hoses. Never remove a hot radiator cap.
Protect the air intake and exhaust
A clean air filter is central to engine life, especially in Australia’s dry, powdery conditions. Remove the seat or airbox cover and check that the filter is properly seated, evenly oiled where applicable and free from tears. A filter that looks clean on the outside may still be blocked or poorly sealed around its rim.
Inspect the airbox for dust trails. Fine dust past the filter often appears as a dirty ring around the intake boot or throttle body. Clean the sealing surfaces and replace a filter that has hardened, split or lost its shape. Carrying a correctly prepared spare filter is sensible for a multi-day ride or a dusty event.
Look over the exhaust header, muffler packing and mounting brackets. A loose header can create an exhaust leak, while a damaged muffler may increase noise and affect performance. Noise rules differ between Australian states and riding facilities, so a standard or approved exhaust is usually a better choice than an unnecessarily loud system. Keep combustible material away from a hot muffler when loading the bike or camping.
Examine the chain, controls and drivetrain
Measure chain slack according to the manufacturer’s specification, with the suspension positioned as instructed. Too much slack can allow the chain to derail or strike the swingarm; too little can overload the countershaft bearing when the suspension compresses. Inspect the chain for stiff links, rust, damaged rollers and tight spots.
Check both sprockets for hooked or sharply pointed teeth. Replacing a worn chain while leaving badly worn sprockets in place wastes money and shortens the life of the new chain. Lubricate the chain with a product suited to the riding conditions, allowing excess lubricant to drain before riding.
Operate the throttle and confirm it snaps shut without sticking. Pull the clutch lever and inspect cable movement or hydraulic fluid level. Test the front and rear brake levers, feeling for firmness and checking that the pads have usable material. The handlebars should be straight, and the grips, levers and handguards should be secure.
Good protective riding gear completes the mechanical check. A certified helmet, goggles, gloves, boots, knee protection and suitable body armour help manage the consequences of a fall, but they cannot compensate for a throttle that sticks or a brake that feels soft.
Test the electrical and starting systems
Turn the ignition on and check the kill switch, warning lights, headlight, brake light and horn where fitted. A weak battery may still power the display but fail under starter load. Look for loose terminals, corrosion and damaged wiring near the steering head, battery box and radiator.
Before starting, make sure the transmission is in neutral and the fuel system is set correctly. Listen for the fuel pump prime on fuel-injected models. Start the engine without repeatedly blipping the throttle unless the manufacturer specifies that procedure. Pay attention to unusual rattles, knocking, ticking, whistling or a persistent smell of fuel.
Once running, let the engine reach normal operating temperature while watching for coolant leaks or warning lights. Do not use prolonged idling as a substitute for riding warm-up; a brief, gentle warm-up followed by light riding is generally kinder to the engine. If the starter struggles, the motor misfires or the temperature rises unusually fast, stop and diagnose the issue.
Match the inspection to the ride
A short loop close to the pits needs a different preparation level from a remote trail or a full day at a private adventure club. Check the route, weather, recovery options and phone coverage before choosing what to carry. In regional Queensland, sudden heat and storms can change track conditions quickly, while cooler southern mornings can expose a weak battery or incorrect cold-start setting.
Australian legislation and access rules also matter. Registration, compulsory third-party requirements and permitted riding areas vary between states and territories. A dirt bike used solely on private property may have different obligations from a motorcycle travelling on public roads, but the property owner’s rules still apply. Confirm the requirements for transport, insurance, noise and helmet standards before arriving.
For family groups, establish a simple rule that every rider reports a strange sound, smell or handling change immediately. Children and inexperienced riders may notice a problem without knowing its importance. A clear decision process reduces guesswork, much like using a structured decision strategy rather than relying on luck when conditions change.
Pack water, basic tools, spare levers, a plug or tube repair kit, chain ties, cable ties and a phone or locator device. On a camping trip, add a small quantity of the correct engine oil, air-filter supplies and a way to transport fuel legally and safely. The best kit is compact enough to carry and useful enough to solve common problems.
Build a repeatable pre-ride routine
The following sequence works well when time is limited. It begins with safety-critical items, then moves through the engine and drivetrain. Keep the manufacturer’s service schedule beside it because a pre-ride check does not replace valve-clearance inspections, oil changes, filter servicing or suspension maintenance.
- Look for oil, coolant and fuel leaks before starting.
- Confirm fuel type, oil level, coolant level and two-stroke mixture or oil-injection supply.
- Inspect the air filter, airbox seal, radiator fins and exhaust mounts.
- Check chain slack, sprocket teeth, throttle return, clutch action and brake firmness.
- Test the battery, starter, kill switch, warning lights and other electrical functions.
- Set tyre pressures for the planned surface and inspect rims, spokes and valve stems.
- Start the engine, listen for abnormal sounds and stop if a warning sign appears.
Use a short written log for oil changes, filter cleaning, coolant replacement and recurring faults. Riders who share a bike can mark the date, engine hours and work completed. This is especially useful when several machines are loaded into a ute for a weekend away from Perth, Adelaide or Canberra, where a forgotten service can become difficult to arrange.
Use the right check for each condition
| Inspection area | Quick trail ride | Full-day or camping ride | Warning that means stop |
|---|---|---|---|
| Fuel and fluids | Check levels and leaks | Add reserve fuel and spare oil if appropriate | Fuel leak, low oil or rising temperature |
| Air filter | Confirm clean seating | Fit a fresh filter or carry a spare | Dust inside the intake |
| Chain and controls | Check slack and operation | Inspect again after muddy or sandy sections | Stiff chain, sticking throttle or soft brake |
| Electrical system | Test start and kill switch | Carry charging or recovery arrangements | Repeated starting failure or burning smell |
| Cooling system | Inspect hoses and fins | Clean mud during breaks | Steam, coolant loss or warning light |
| Tyres and wheels | Check pressure and damage | Bring repair equipment | Bulge, split sidewall or loose spoke |
The table is a guide rather than a substitute for the owner’s manual. Tyre pressures, chain adjustment and fluid specifications vary between models, and a competition bike may require more frequent servicing than a trail bike used occasionally.
After the ride, allow the engine to cool before cleaning and inspecting it again. Remove mud without forcing high-pressure water into wheel bearings, electrical connectors, air intakes or suspension seals. Record anything that changed during the ride, then service the bike before storing it so the next pre-start check is straightforward.
A reliable dirt bike comes from small, repeatable actions: inspect it cold, confirm the vital fluids, protect the air intake, test the controls and respond immediately to unfamiliar symptoms. Make that sequence part of loading the bike, and the practical takeaway is simple: never ride until the engine, controls and safety systems have all passed their check.
Get in Touch
Send us a note about memberships, guest visits or directions. Phone 386-864-3856 or email floridacrackerranch@floridacrackerranch.com. Mailing address: P.O. Box 2993 Bunnell, Florida 32110.